Some of the most popular blog posts here on the AudioAcrobat Weblog were written on converting WAV to MP3 using Audacity for both Mac and PC. Today I’ll be sharing a similar process using a different piece of software that I found in the Applications folder on my MacBook Pro.
If we were to take a trip down memory lane to a decade where audio editing software was just a budding concept, there was a program called Cool Edit, which later evolved to Cool Edit Pro. Moving forward in time to the early-mid 2000’s, Cool Edit Pro (v2.1) was purchased by Adobe and became known by today’s standards as Adobe Audition.
Which brings us to today’s post, where I have created a short, easy-to-use tutorial on using Adobe Audition to open, convert and save WAV files in the MP3 format. I won’t be getting super technical, nor will I be exploring any advanced features, although this software is packed with them!
Ready to jump in? Let’s do it!

Step 1: Launch Adobe Audition
There are several ways to accomplish this first step. For sake of keeping things simple, I like to click the Applications folder in the dock of my Mac OS X installation, where all of the applications installed on the computer you’re using will appear.

Follow me so far? Excellent. Now I’m going to click the Adobe Audition folder and click again on the Adobe Audition application icon.
Alternately, you could open Finder and navigate to Applications >> Adobe Audition CSx.x >> Adobe Audition.
Furthermore, if you are a regular Adobe Audition user, you may have already chosen to keep the software in your dock for easy access. If so, simply click the icon in your dock to launch Adobe Audition.
Step 2: Open WAV File
With the Adobe Audition application open, there will be lots of empty space. Don’t worry, as this will fill in momentarily.
Here, you can either use the keyboard shortcut ⌘+O (Command+O) or choose File >> Open from the menus at the top left of your application window to bring up the familiar pop-up window which will allow you to select the WAV file we’ll be converting to the MP3 format. Double-click the WAV file or click once and choose Open to bring the file into Adobe Audition.
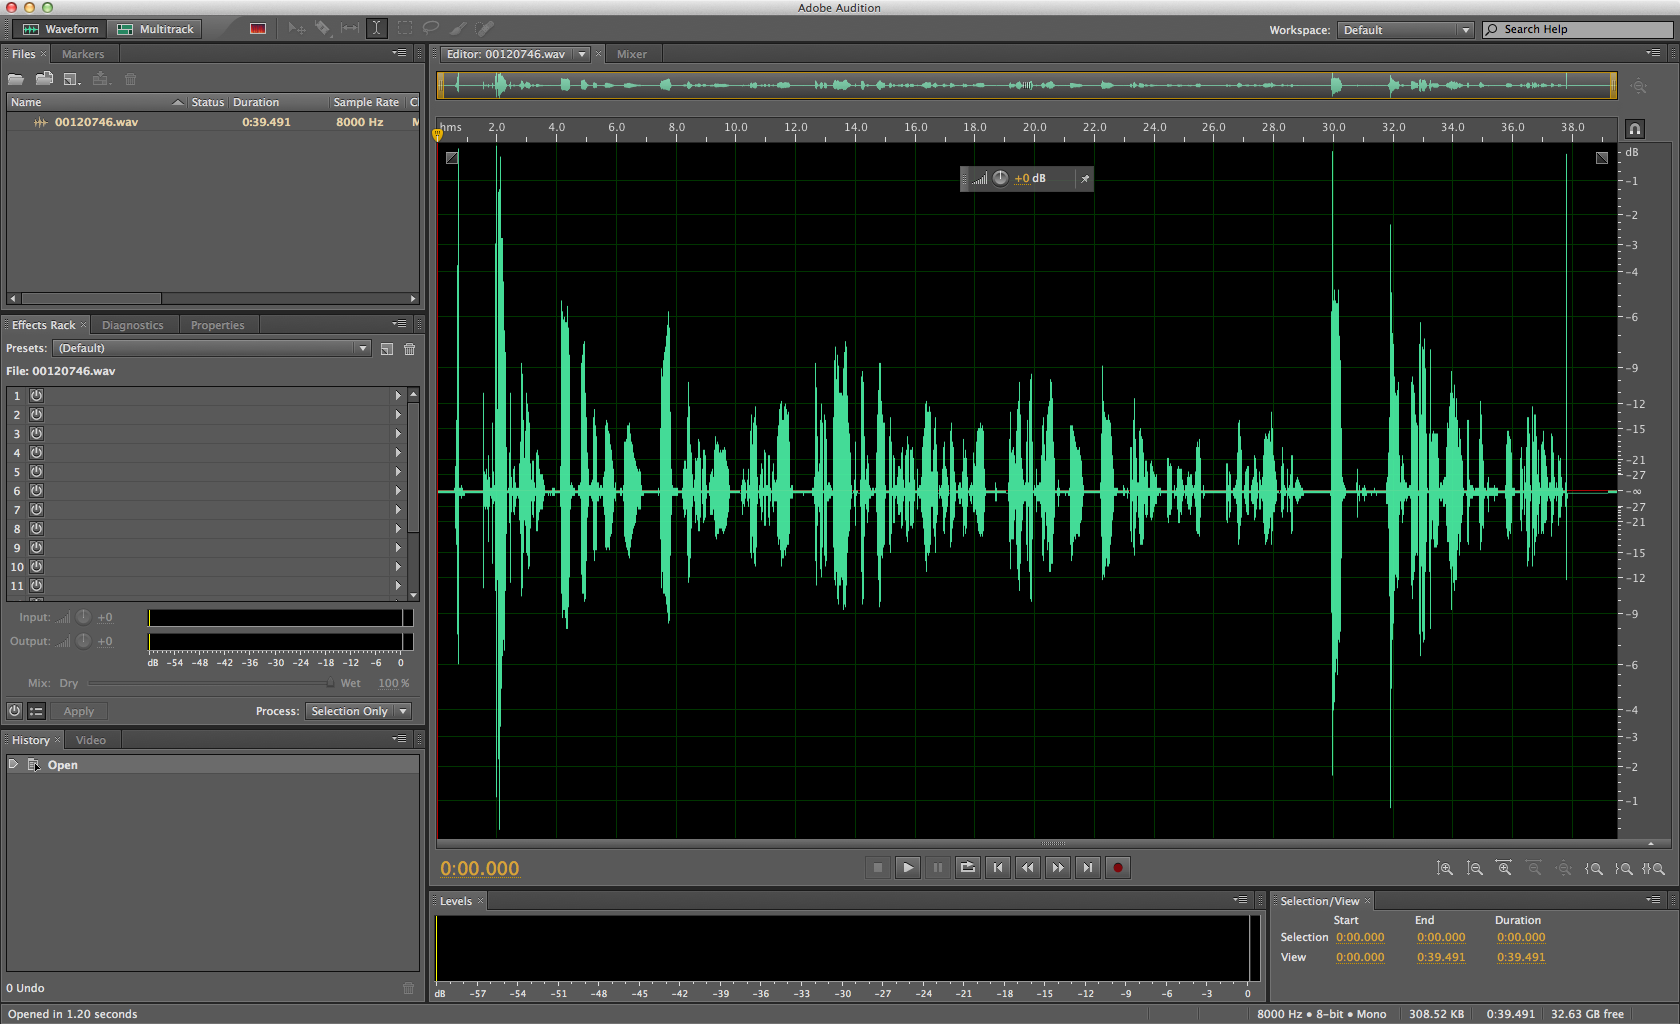
At this point, you should see the waveform of your WAV file appear with bright green peaks atop of a black background with a square grid pattern, like this:
Step 3: Convert WAV to MP3
We’re good so far, yeah? Sweet! We’re already more than halfway through today’s exercise.
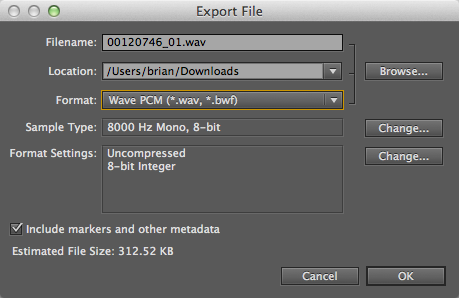
Using the keyboard shortcut ⇧+ ⌘+E (Shift+Command+E) or choosing File >> Export >> File, we can begin the process of exporting our file in the format of our choice, which in today’s exercise will be in the MP3 format. Here, the Export File pop-up window will appear:

Choosing the Format drop-down menu will provide the following options:

As seen in the above image, we’ll want to select the MP3 option. Click OK on the Export File pop-up window and watch as Adobe Audition quickly works to export your brand-new MP3 file!
Pretty easy, huh? That’s it, we’re done!
Were you able to follow-along with the process above? Did you get stopped somewhere along the way?
Comment below and connect with us for daily updates!
- Follow AudioAcrobat on Twitter
- Become a fan on Facebook
- Join our group on LinkedIn
- Subscribe to AudioAcrobat RSS
Want to learn more about AudioAcrobat? Go ahead, give it a try yourself by signing up for a 30 day Free Trial or join one of our FREE Training Classes without signing up for squat. Already have an account? Login HERE.
Did you know that AudioAcrobat has a built-in affiliate referral program? Earn 33% commissions, monthly!
