For many years, submitting podcasts to iTunes was done solely through the iTunes software. Recently however, Apple unveiled a web-based portal called Podcasts Connect which gives users a lot more control over the submission process as well as the ability to manage their podcast’s presence on iTunes as it grows. Podcasters rejoice!
Since the release of Podcasts Connect, AudioAcrobat members have been reporting back to us with elation of just how easy it is to use. Many of these same individuals have also mentioned how much they enjoy having the ability to manage their presence on iTunes without relying on Apple customer service. Not to say that their support wasn’t fantastic (it most certainly was), but teach a (wo)man to fish, right?
It seems like the wonderful customer service team members’ jobs may have gotten a bit easier with this release however.
Podcasts Connect Overview
Before diving into the walkthrough of submitting a podcast, let’s take a quick look at all the nifty bells and whistles that are included on the management side of things. I’ll elaborate on why each of these are so awesome after the initial submission process, but here’s a taste to start salivating over:
- Submit and manage multiple podcasts all under one roof
- View the status of your podcast on iTunes
- Update/modify podcast RSS feed URL
- Dedicated iTunes “Mirror” URL
- Ability to manually refresh feed
- Quick link to view in iTunes Store
- Hide podcast from iTunes
- Delete podcast from iTunes
Since you’re probably drooling a little bit, go ahead and clean yourself up. Don’t feel ashamed, the same thing happened to me the first time I logged in! So … who’s ready to submit a podcast?!
How to Submit a Podcast to iTunes via Podcasts Connect
This process assumes that you’ve already created your podcast RSS feed. If you haven’t, don’t worry, because there are lots of ways to do so. If you’re an AudioAcrobat member it’s super easy! Here, watch how.
-
Pull up the Podcasts Connect site in your browser (link)
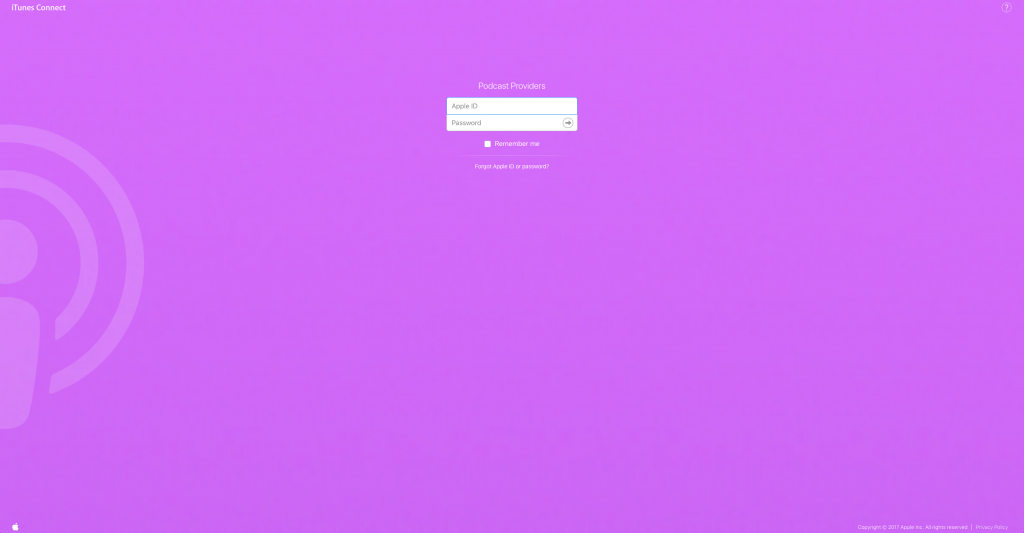
Here, you should see the login portal, as such:
Note: This can be done on mobile or using a desktop/laptop computer. At the time of writing this, the mobile version did obfuscate the sign-in box a bit, while rotating the device a few times seemed to fix the issue. For the rest of this walkthrough, I’ll be using the desktop version of the Podcasts Connect site.
-
Sign In using your Apple ID and password.
If you don’t have an Apple ID that is linked to iTunes, you’ll need to create one. If you don’t wish to place a payment method on-file, start here.
-
Click the + symbol
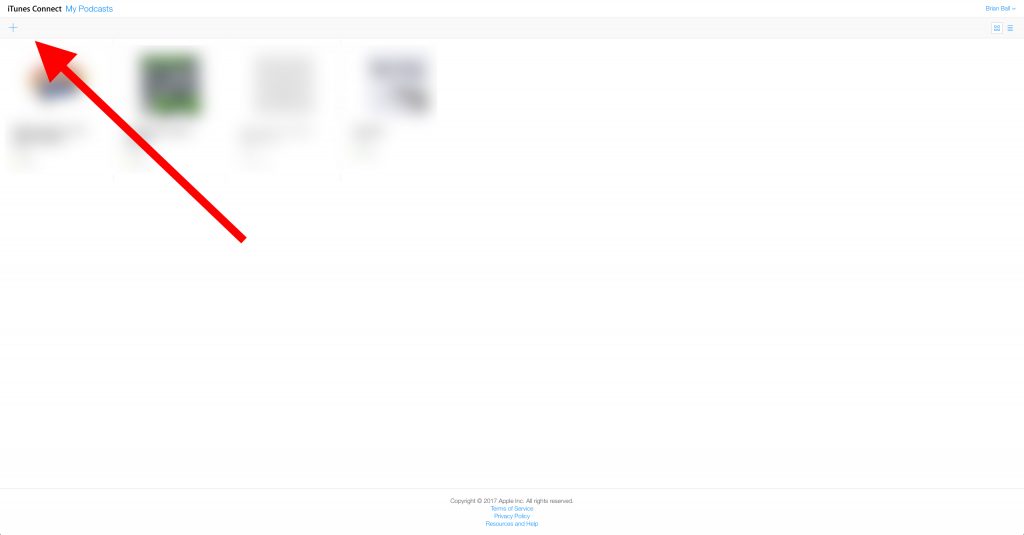
Click the + symbol in the top-left corner of the page to begin the submission process. -
Enter the podcast feed URL
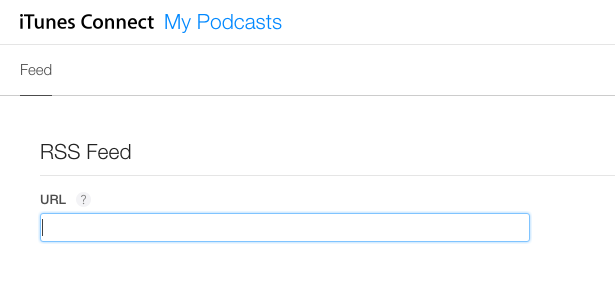 Using the field under “RSS Feed” labeled “URL” (as seen above), paste in your podcast feed URL.
Example: http://username.audioacrobat.com/rss/podcast-title.xml
-
Click “Validate”

On the far right side of the page, you should now see the “Validate” button enabled. Go ahead and give it a click. This prompts the Podcasts Connect site to examine the feed, making sure it meets iTunes’ requirements. -
Review your podcast information
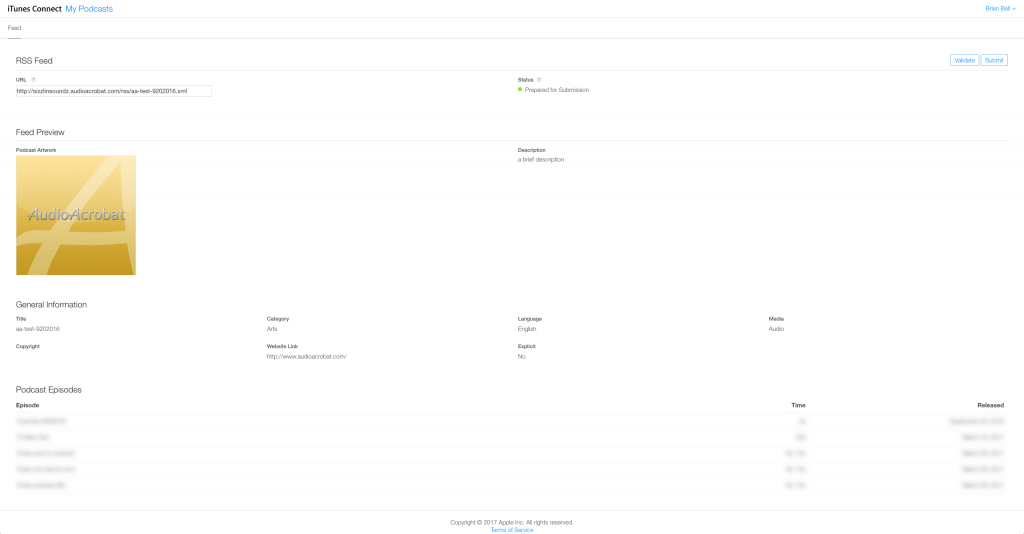 At this point, you should see something similar to the image above. Hopefully you see the Status listed as “Prepared for Submission”.
You’ll want to take a moment to review the information (artwork, description, general information, episodes) and make sure everything looks correct. Go ahead and make any necessary changes if something’s not right and click “Validate” again to refresh.
-
Click “Submit”
 When satisfied, click the “Submit” button on the far right side of the page, just next to the “Validate” button. As a result, you should then see the following message appear:
 That’s it! Now you can kick back and put your feet up while the iTunes staff reviews your submission. The review process usually takes a few days, but I’ve seen some podcasts approved the same day. Next time you check your email, you should see a confirmation there as well.
Managing Podcasts with Podcasts Connect
Now that the submission process is complete, we can really begin to explore everything Podcasts Connect has to offer. Let’s have some fun while we’re at it, eh?!
View the Status of Your Podcast with Podcasts Connect
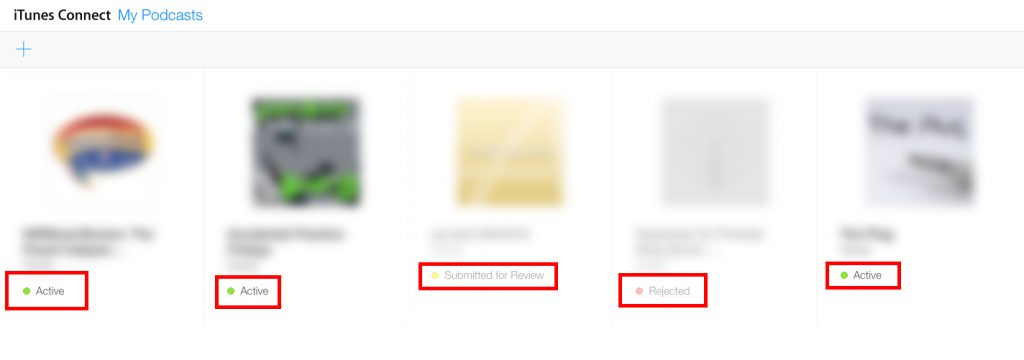
While this feature might seem self explanatory, the status of your podcast can make a big difference.
First of all, if you’re not seeing a new episode showing on iTunes or the podcast itself isn’t showing, check the status. If you’re seeing anything other than “Active”, such as “Prepared for Submission”, “Submitted for Review”, “Rejected”, “Hidden”, “Scheduled for Hide” or “Failed Validation”, this would be a major red flag.
Also, the status will dictate whether or not you can make changes to your podcast. Hence, statuses of “Submitted for Review”, “Scheduled for Refresh”, “Scheduled for Hide”, “Scheduled for Unhide” and “Rejected” will be grayed-out and cannot be edited.
Update Your Podcast RSS Feed URL Using Podcasts Connect

What happens if you change your podcast’s feed URL? How about changing podcast providers? In the past, iTunes would simply remove your podcast entirely. Not cool, iTunes, not cool. Assumingly due to many of these types of tickets flooding Apple’s podcast support team, podcasters can now easily update their feed URL within Podcasts Connect. Better yet, making the change here is seamless, with a much higher potential to keep your podcast in good standing during the change.
To do so, start by clicking the podcast you’re looking to update, then replace the existing URL with the new one.
Dedicated iTunes “Mirror” URL

Wouldn’t it be nice if there was a permanent link to your podcast, regardless of any changes you might make to the original URL? Good news — there is!
The “Mirror URL” is another much-needed feature tucked away in the Podcasts Connect dashboard. Therefore, as suggested above, modifying your podcast URL won’t affect the mirror URL. Better yet, anyone accessing the mirror URL will always be taken directly to your podcast.
Manual Feed Refresh
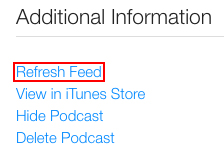 So you just published a new episode of your podcast and it’s not yet showing on iTunes. On one hand, you could wait for iTunes to crawl your feed, which can take up to 24 hours. On the other, you can login, click on your podcast and select “Refresh Feed”. Your podcast is now placed in a queue to be refreshed. This can quickly speed up the time it takes for any changes to appear on iTunes.
Quickly View Podcast in iTunes Store via Podcasts Connect
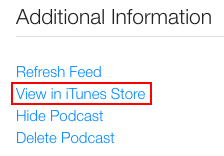
Another handy feature found within the Podcasts Connect dashboard is a link to view your podcast in the iTunes Store. Click on your podcast then click “View in iTunes Store”. Here, you’ll be taken to the page iTunes has created for your podcast.
This is a great way to see exactly what your podcast looks like on the iTunes website. Visiting this web version of the iTunes Store is also a great way to navigate yours and other podcasts without opening the iTunes software on your computer. Here, check out an example:
Hide Podcast from iTunes
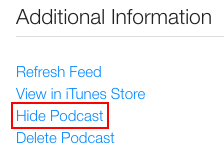
Another “hidden” gem just waiting to be discovered in the Podcasts Connect dashboard gives users the ability to hide their podcast from iTunes, without deleting it completely. If you do wish to delete your podcast from iTunes, skip to the next section below.
If you’re looking to hide your podcast, click the podcast then choose “Hide Podcast” in the “Additional Information” section as seen above. You’ll need to confirm your selection again on the popup that appears.

Hiding your podcast will literally do just that, but as seen above, it doesn’t happen immediately. Much like refreshing your feed, the podcast is placed in a queue and can take up to 24 hours before being hidden.
When ready to unhide, or show a hidden podcast, click the podcast and choose “Unhide Podcast” under the “Additional Information” heading.

Go ahead and click “Unhide” from the additional pop-up and be prepared to wait up to 24 hours before it reappears in iTunes.
Delete Podcast from iTunes
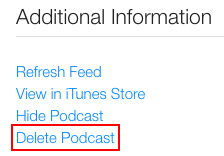
As we near the end of our walkthrough, let’s take a look at a feature that’s useful in sticky situations. The feature I’m referring to is the option to “Delete Podcast”. This is something that cannot be undone, so make sure you’re 100% confident in your decision.
To delete a podcast, click on the podcast, then choose “Delete Podcast” under the “Additional Information” heading near the bottom of the page.
After you’ve clicked this option, you should see a pop-up asking you to confirm your selection:

Hit the “Delete” button and your podcast will be permanently removed from iTunes within the next 24 hours or less.
Final Thoughts on Podcasts Connect
In this all-inclusive walkthrough of Podcasts Connect, I started by covering the complete process of submitting a podcast to iTunes. Going beyond this process, I’ve also dissected the options available to podcasters via the Podcasts Connect dashboard and identified different situations in which the features best apply to. If I missed something, please let me know in the comments and I’ll do my best to update accordingly.
What other features would you like to see included in Podcasts Connect? For one, I’d like to see some iTunes specific statistics being populated. Who knows, maybe that’s already in the works…
Thank you so much for hanging with me all the way to the end — happy podcasting!
Brian…I never broke in to using podcasts, though I should have, since I have posed hundreds of thousands of words on Facebook and (going way back) to y2k forums back in the days of frenzy.
But I commend you on this article and admire your ability to structure it even for newbies. A well-written set of instructions.
When single, over forty years ago, I lived in Incline Village.
Thanks so much, Bob! I very much aimed for an easy-to-read post that could serve as a guide for users of all different experience levels, and am so glad to hear that you were able to move through it with ease. Ah, living up at the lake…such a magical place in this world, I bet you enjoyed every moment of it! I can only imagine how peaceful it was back then…none of these millennials (including myself) running around shooting selfies 😉