In 2014 we as a race embrace digital photography and videography using mobile devices more than ever before. So much in that we have hundreds, if not thousands of images and videos stored on our devices — files that we will eventually need to gain access to outside of the hand-held portable device they were originally captured with.
Today’s tutorial is a warm welcome back to the AudioAcrobat WordPress Blog (yes, I’ve had a nice vacation, but it’s time to bring back the regular posts) and a very helpful walkthrough of what it takes to transfer video shot on an iPhone to a Mac (MacBook Pro, iMac, etc.), with a super-handy tip at the end for those looking to upload their iPhone videos to their AudioAcrobat accounts.
No use in holding things up, right? Let’s get to business.
Step 1
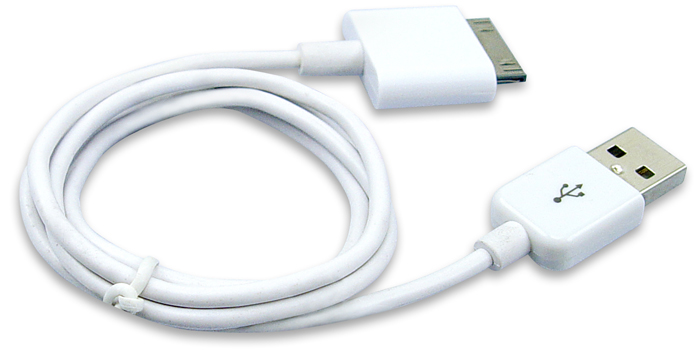
This one’s really simple. Connect your iPhone to the Mac you wish to transfer the video(s) to, using an iPhone transfer/charging cable, such as the one seen above.
Step 2

Another really easy step here. Once connected, open iPhoto.
Step 3
After opening iPhoto, we’ll need to select our device (iPhone, iPad, etc.), and click once on the video we wish to import to select it, then click Import Selected.
Hint: Multiple videos can be imported at the same time by holding the command key when clicking.

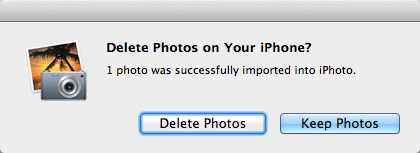
You’ll see the import taking place and will be asked to keep or delete the photos from your iDevice. I usually choose to keep them, but that’s completely up to you.
Step 4
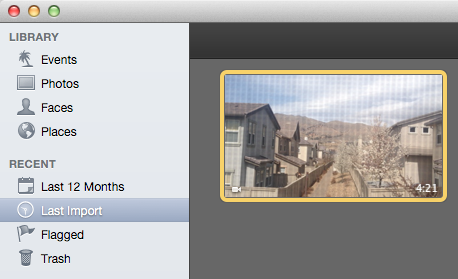
The Last Import screen should now display the video(s) we’ve imported.
Wait, we’re done?!
YES — we’ve successfully transferred the video from our iPhone to our Mac — woohoo!
Bonus Steps!
For those looking to upload their newly transferred video to AudioAcrobat, we’ve got some bonus steps that you’ll need to take, in order to ensure the process goes smoothly.
Step 1
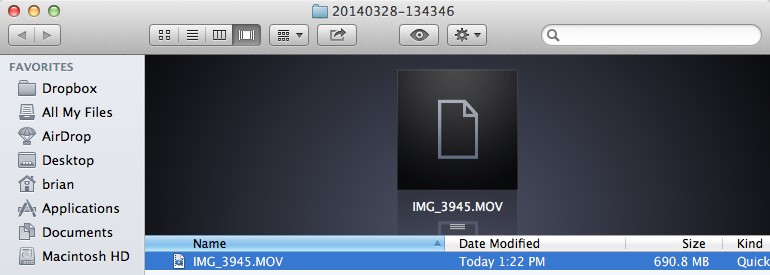
With iPhoto still open, and the video we wish to upload selected, navigate to File >> Reveal In Finder >> Original File. This will open a new Finder window, with the video selected in dark blue, as seen in the screenshot above.
Step 2
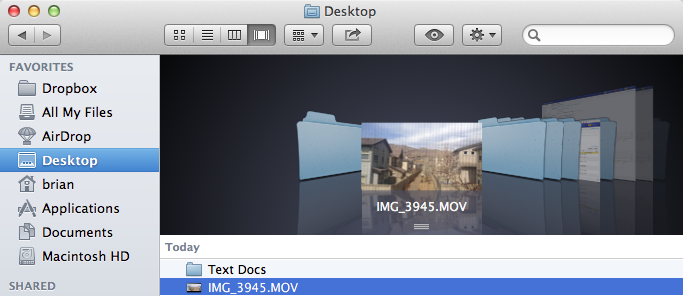
The trick here is that we’ll need to copy the video and paste a new version outside of the iPhoto Library. I’ve chosen my MacBook Pro’s Desktop as the location for the copy, as seen above.
Why do we need to copy and paste the video to our Desktop or other location outside of the iPhoto Library?
I’m glad you asked. There are two reasons actually.
1) The iPhoto Library is greyed out when accessing through the internet browser’s file upload (browse) window.
2) Even if we are able to get around the greyed out iPhoto Library and select the video from iPhoto’s library, it is not the “real” video being sent to AudioAcrobat servers. Instead it is a much smaller, “preview” of the video which is sent, which may result in an error.
Step 3

Once copied to the new location (Desktop, etc.) we can choose to upload this new version to AudioAcrobat.
Hint: Make sure to select the version copied to the Desktop or other location outside of the iPhoto Library when uploading to AudioAcrobat, or you may experience difficulty uploading.
For a complete walkthrough of uploading video to your AudioAcrobat account, go here.
Did you find the above tutorial helpful?
Do you still have questions on transferring your iPhone videos to a Mac? Please let us know!
Comment below and connect with us for daily updates!
- Follow AudioAcrobat on Twitter
- Become a fan on Facebook
- Join our group on LinkedIn
- Subscribe to AudioAcrobat RSS
- +1 AudioAcrobat on Google+
Want to learn more about AudioAcrobat? Go ahead, give it a try yourself by signing up for a 30 day Free Trial or join one of our FREE Training Classes without signing up for squat. Already have an account? Login HERE.
Did you know that AudioAcrobat has a built-in affiliate referral program? Earn 5% commissions, monthly!
