Not too long ago I purchased a new microphone for doing voiceover work for AudioAcrobat and a couple other projects I’ve got up my sleeve, and needed a way to bring down the amplitude of certain peaks within my recordings without doing a hard fade in / fade out…
In today’s post I will share with you a VERY easy way to bring down the highest points of your audio, re-render the track and boost the amplitude as much as possible without creating distortion (clipping).
Step 1: Open Audio
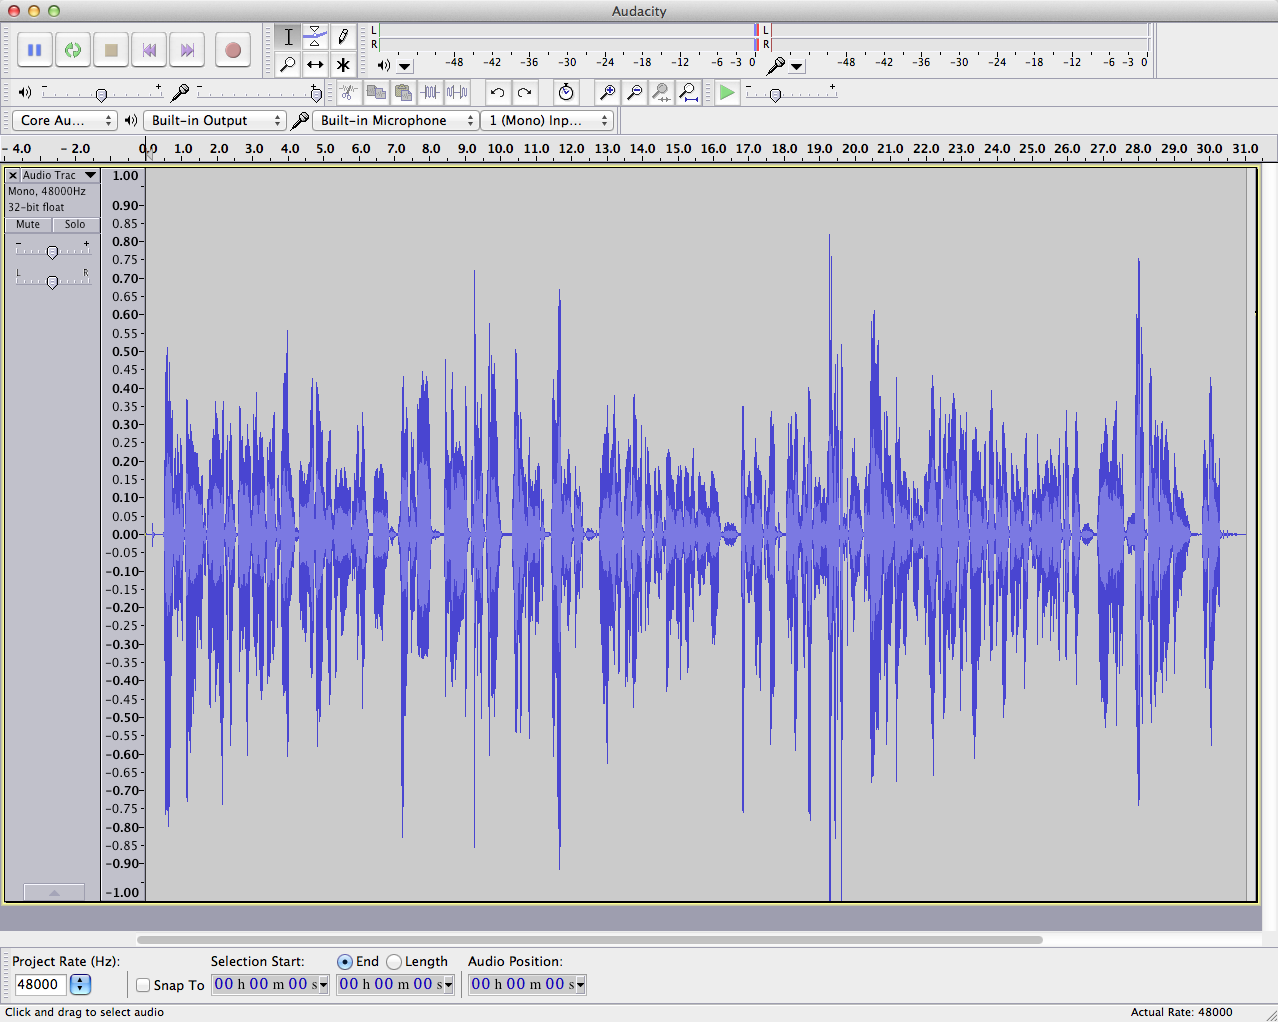
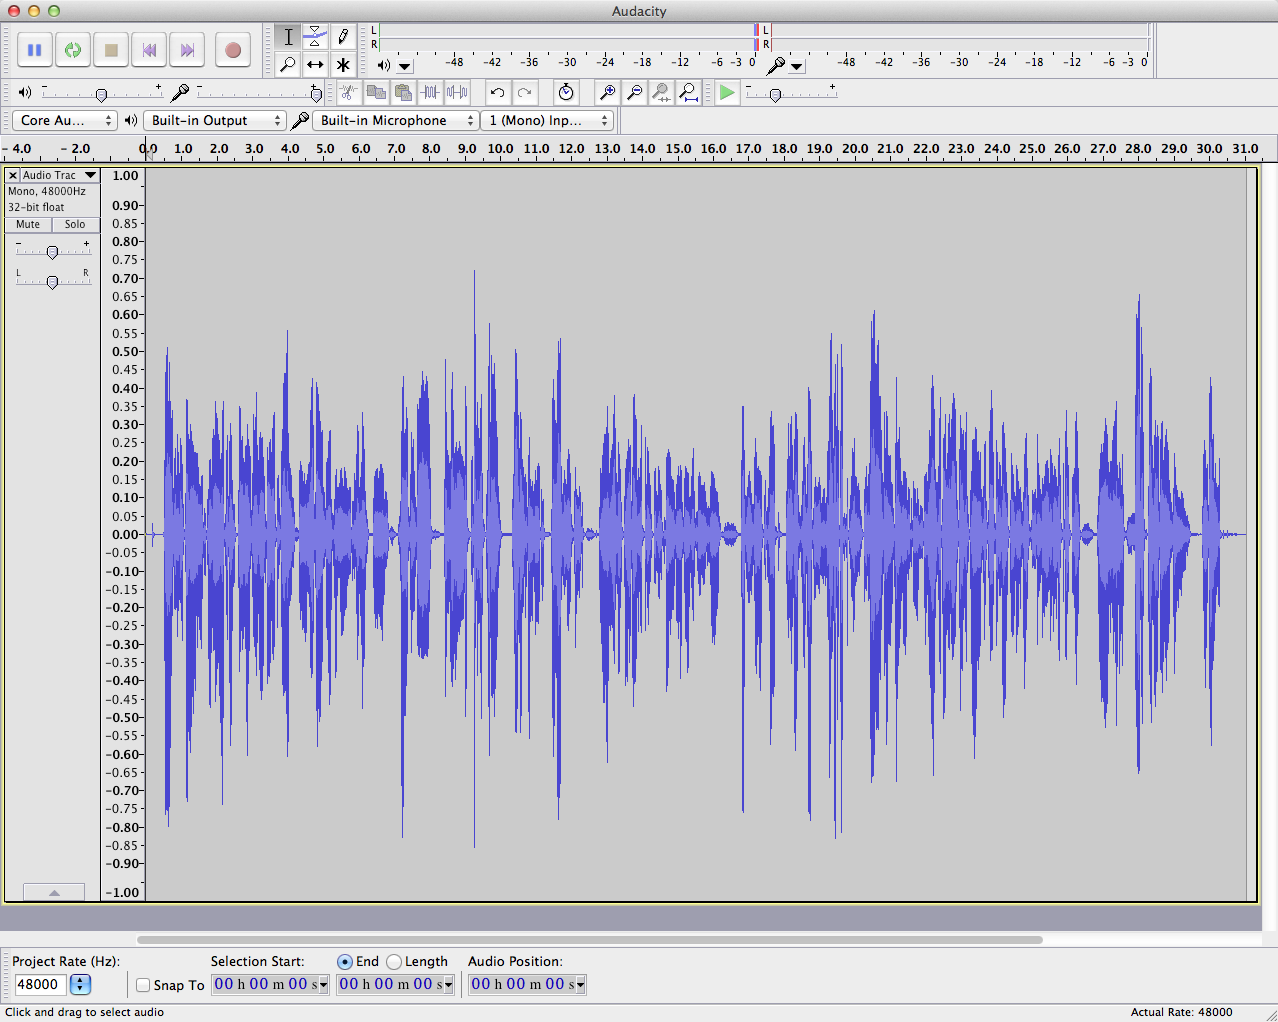
For today’s example, I’ve created a short, spoken-word track of me just talking (poorly) into the built-in microphone on my MacBook Pro. The original waveform looked like this:
Listen to the original, un-edited audio seen above
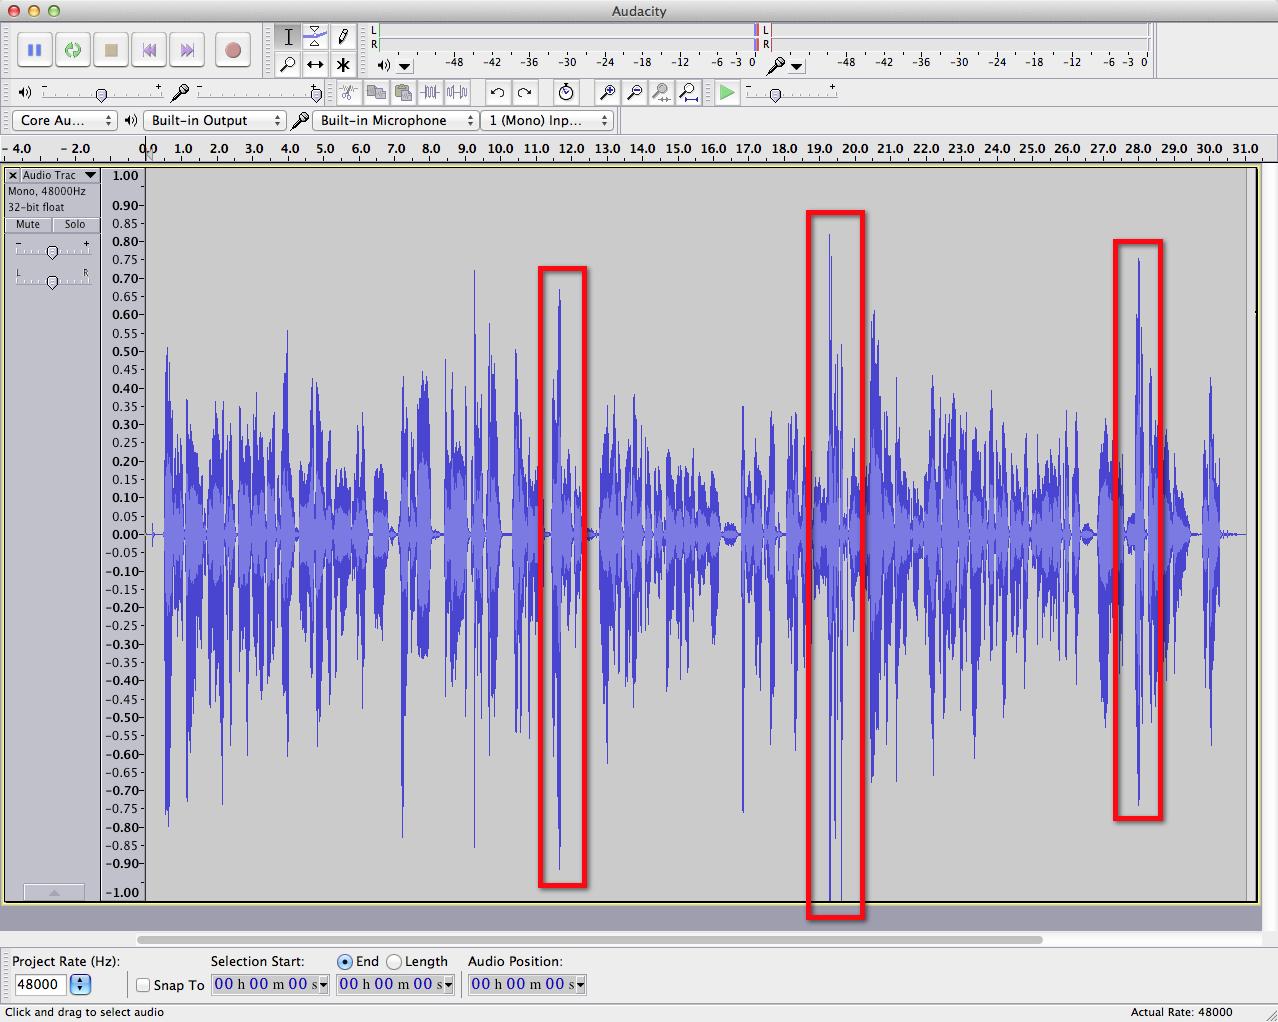
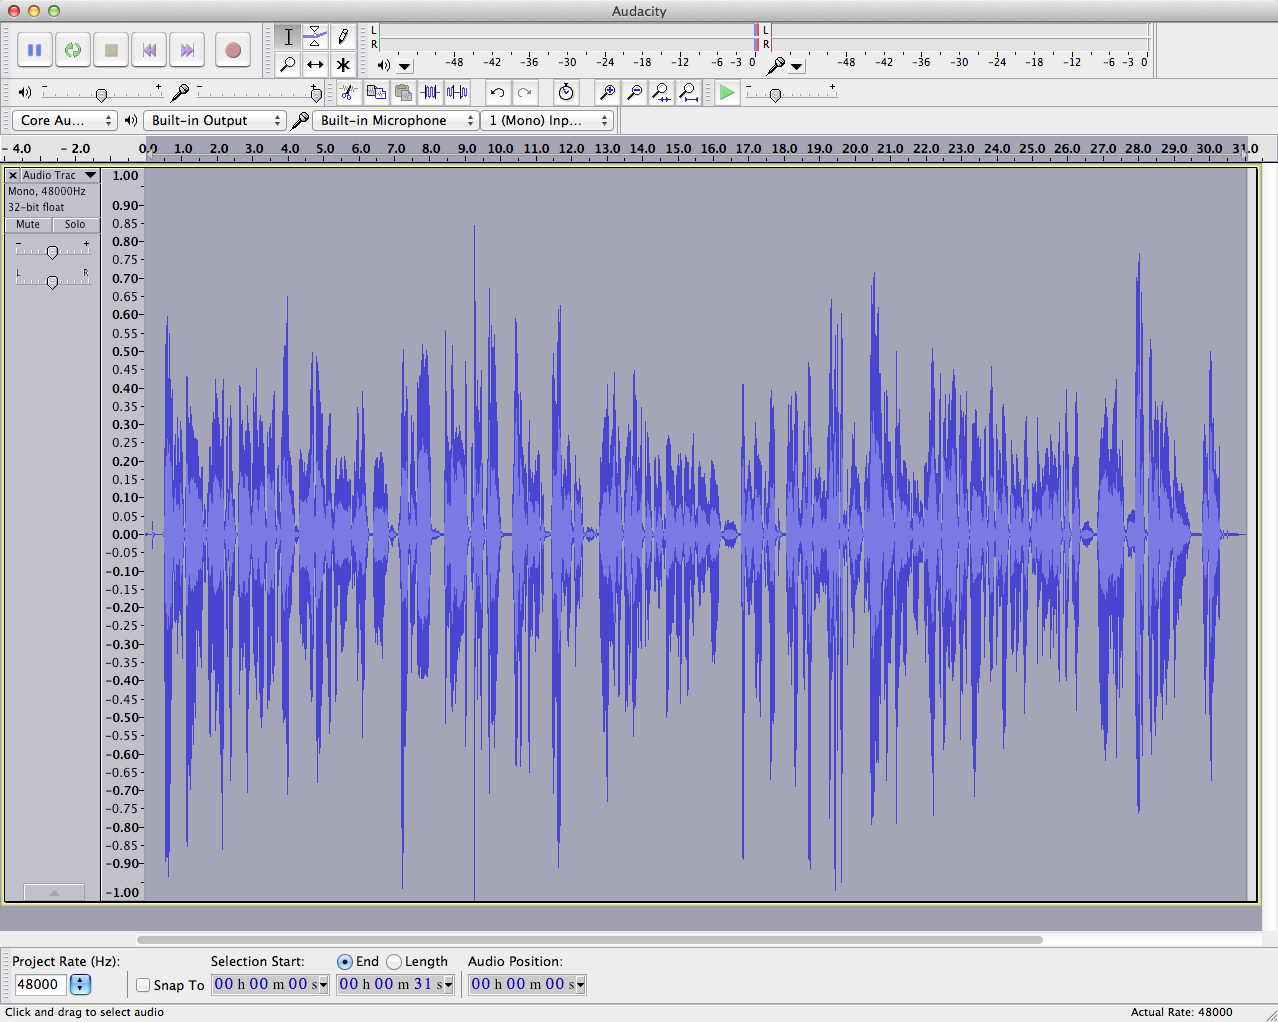
In this next screenshot, I’ve identified several of the loudest areas/peaks, which are preventing me from applying a global amplitude increase, as these areas would be pushed beyond the audible spectrum and would sound (even more) terrible if boosted as is.
Notice how these peaks are either right at the edge of the top/bottom of the 1.00 / -1.00 spectrum, or are approaching the outer limits, steadfast? In order to boost our levels globally, these peaks will first need to come down in size. How do we do this without using the traditional fade in / fade out commands, while creating something a bit more “custom” to our needs? I’m glad you asked!
Step 2: Envelope Tool
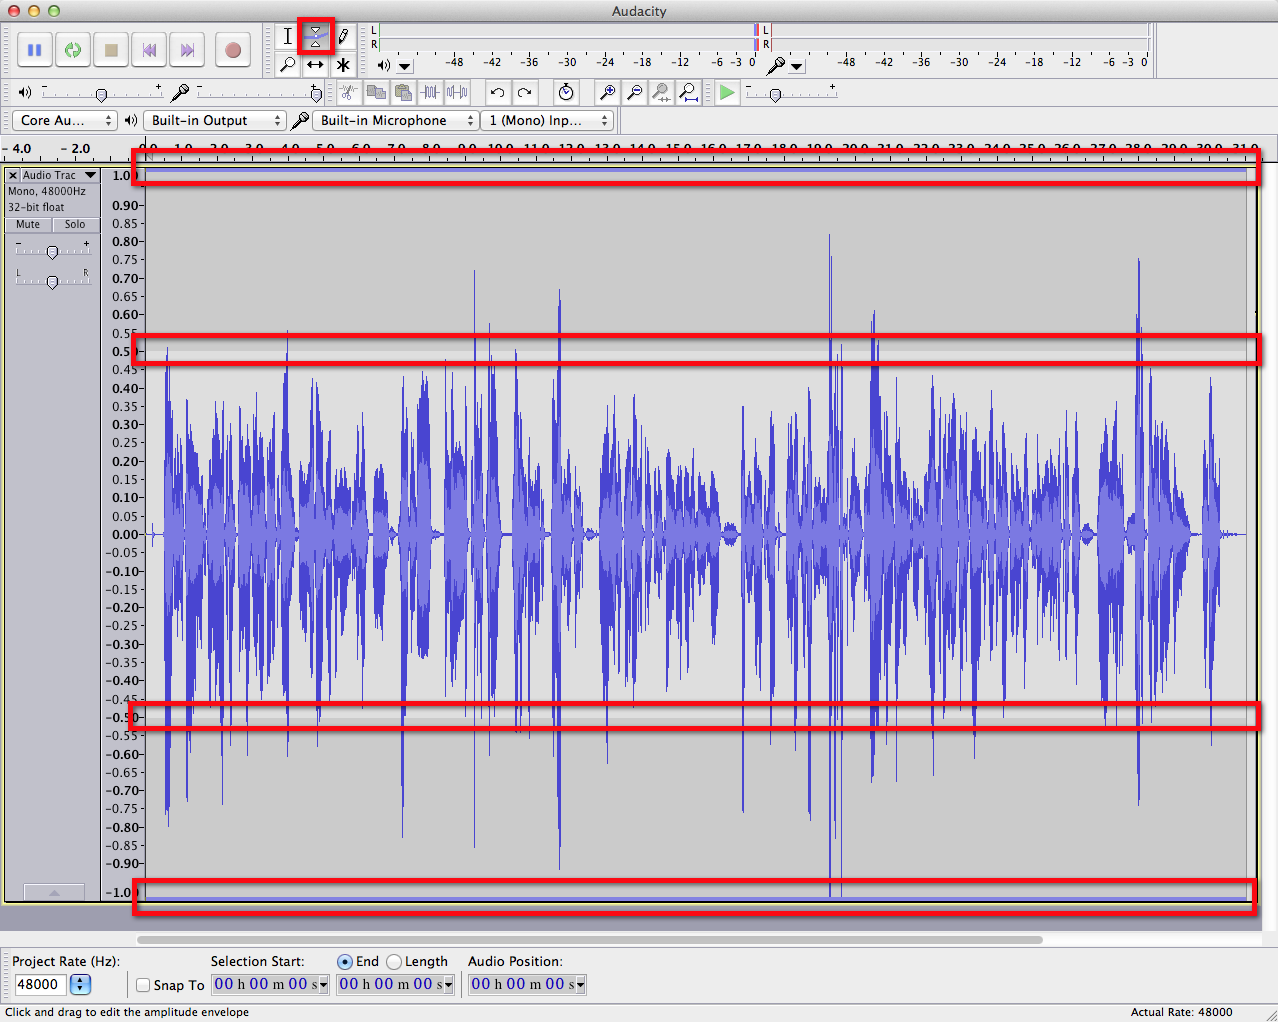
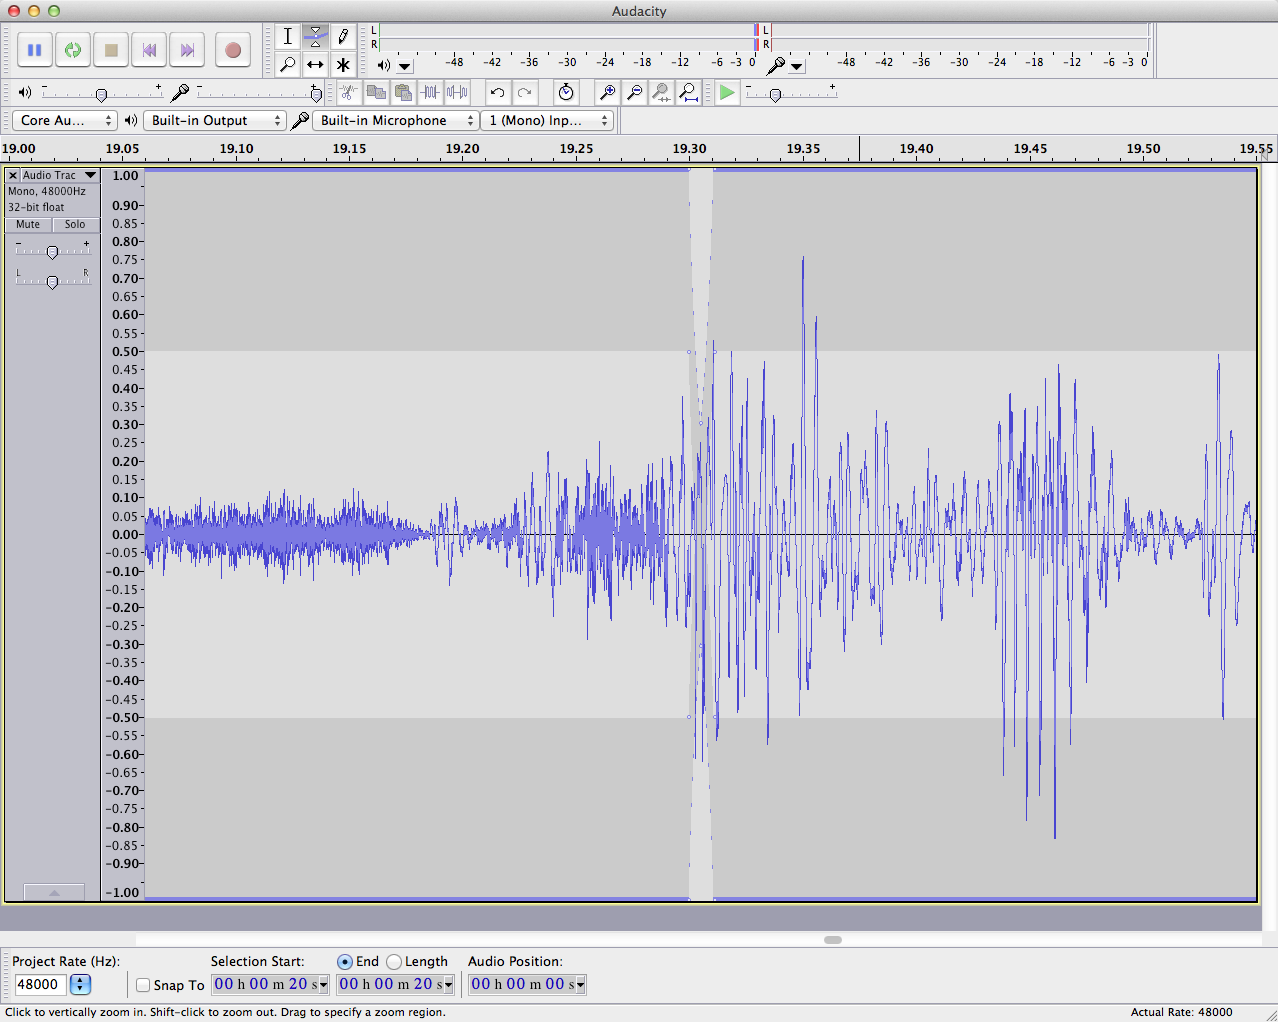
Here, we’ll use the Envelope Tool, which can be seen in the following screenshot:
Notice how new blue lines appear across the top/bottom of the waveform? See the new white area surrounding the middle part of our waveform? Those are normal, and will appear / disappear whenever the Envelope Tool is selected / deselected.
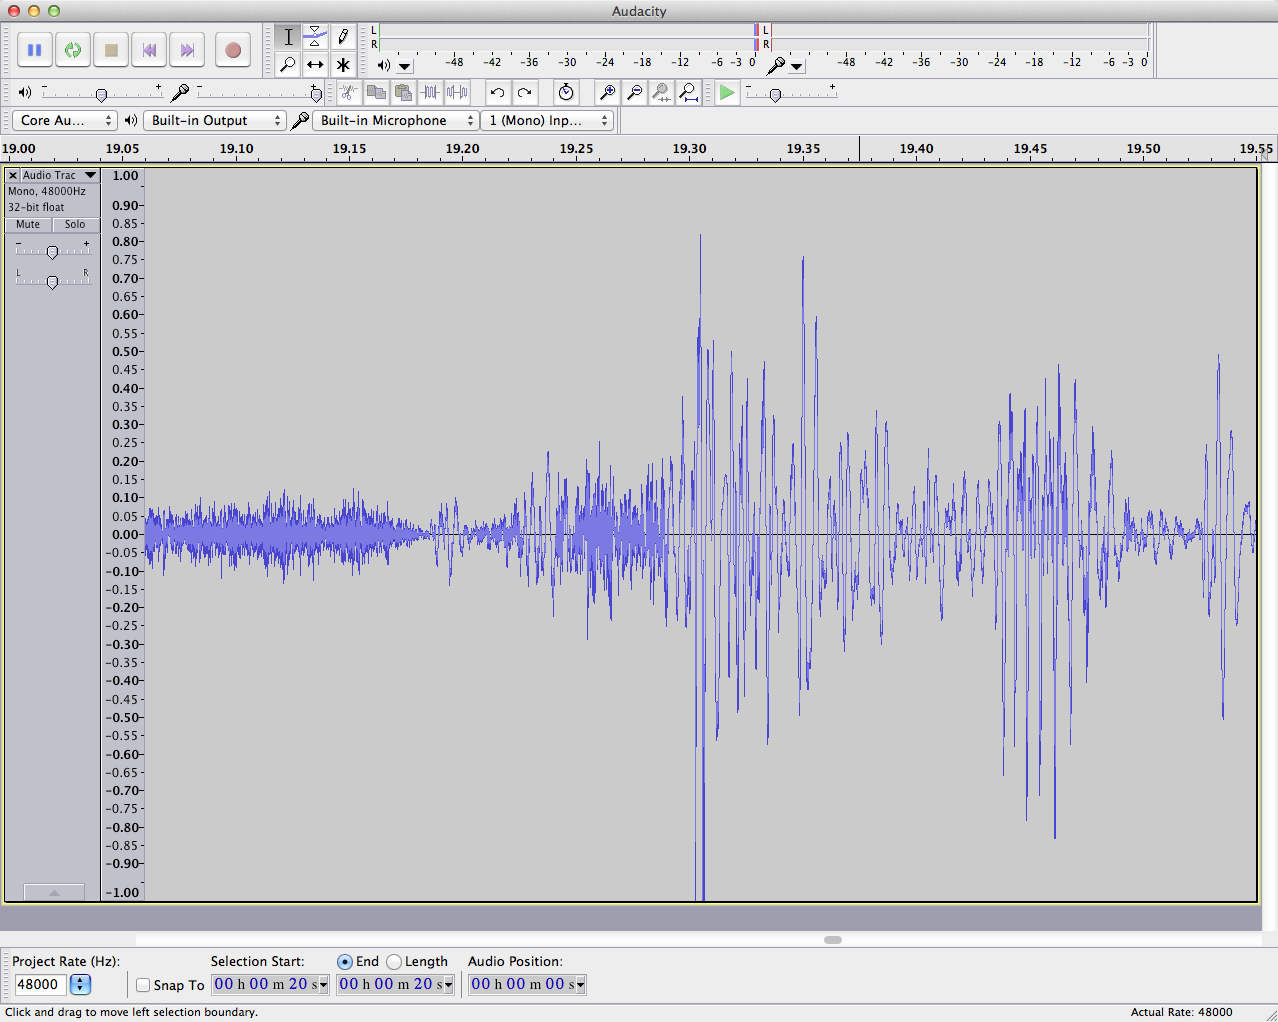
To begin using the tool, we’ll need to zoom in on each individual peak we’ll be smoothing out. I like to click with the Selection Tool as close to the peak as possible and use the keyboard shortcut ⌘+1 to zoom, but Audacity offers several different ways of zooming, so it’s up to you.
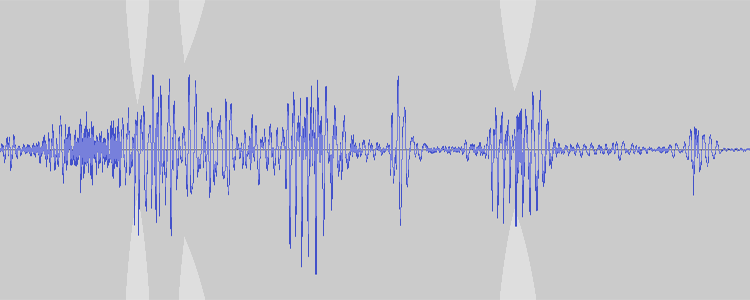
Once zoomed in, the waveform should appear something like this:
Going back to my Envelope Tool, I’m going to use my mouse to move along the outer blue line that appears on either the top or bottom of the waveform when the Envelope Tool is selected and create several marker points used to hold the envelope constant on the outer edges and to smooth out the peak in-between the “hold” points.
Clicking once on the blue line will create an envelope marker point and dragging the point toward the center of the waveform will decrease the amplitude/volume of the affected area. Try to make your marker points / envelope look like this:
For basic edits like this, I use one marker point on either side of the peak to hold everything else in place, and a single marker point to reduce/smooth the peak. You are welcome to use more to create a smoother fade if desired.
If you ever need to remove a marker point, simply drag it past the outside of the waveform / blue line and it will disappear. If the blue line moves in toward the center when adding points, simply click and drag the marker point back to the edge to maintain the track’s original amplitude.
Now that we’ve smoothed out the first peak, we’ll need to repeat this action for the tallest peaks found within the remainder our audio. I’ll be working on the (3) peak areas outlined above in Step 1.
Step 3: Mix and Render
Now that we’ve smoothed out as many peaks as we could, and our envelope has been adjusted to our liking, we can move forward with Mixing and Rendering our changes. This can be done easily by clicking Tracks >> Mix and Render. Voila! See the envelopes disappear? See how the peaks have become much lower?
Now we have some headroom to adjust the amplification. Go to Effect >> Amplify and the dialog window will pop up and show you the maximum amount of amplitude you can apply without clipping. In my example, this round of adjustments cleared an additional 1.4 dB of space for me to increase! Hit OK and watch as your entire waveform expands.
Listen to the edited version seen above
Step 4: Shampoo, Rinse & Repeat
If you like what you hear, you’re done! If you would like to get more loudness out of your recording, then repeat Steps 2 and 3 above and you’ll be well on your way to achieving the loudness you desire for your track!
When satisfied, click File >> Export to save the audio file to disk. That’s it!
Did you find the above process helpful? Were you able to follow-along? Please let us know!
Comment below and connect with us for daily updates!
- Follow AudioAcrobat on Twitter
- Become a fan on Facebook
- Join our group on LinkedIn
- Subscribe to AudioAcrobat RSS
Want to learn more about AudioAcrobat? Go ahead, give it a try yourself by signing up for a 30 day Free Trial or join one of our FREE Training Classes without signing up for squat. Already have an account? Login HERE.
Did you know that AudioAcrobat has a built-in affiliate referral program? Earn 33% commissions, monthly!
